Starfield Starters: Space Combat 101
Starfield is finally on our horizon and early access is now live. The game launches on Xbox Series X|S and PC (with Game Pass) on September 6 – and is playable in early access today with the Starfield Premium Edition, Starfield Premium Edition Upgrade, or the Starfield Constellation Edition – and we at Xbox Wire have been lucky enough to play it early. This is an enormous game, full of overlapping systems, mysteries and mechanics.
We’re sure you want to know more and, in the spirit of getting you ready to play it yourself, we’ve put together a series of articles focused on getting you out into the galaxy prepared for what’s to come. Allow us to present Starfield Starters, a four-part, spoiler-free guide to some of the game’s most important, complex, and lesser-known features – and how to succeed with them. For more Starfield Starters, make sure to check out our guides on character customization and planet hopping.
Space isn’t always a friendly place in Starfield. You might come across Spacers, the villainous Crimson Fleet, or the zealots of House Va’ruun – each vying to destroy you for different reasons. Then again, you might not be the friendly one – you may decide upon a life of space piracy, invoking the ire of peaceful travellers, and racking up bounties from Settled Systems’ various peacekeepers.
All of this is to say that you’ll not just need to know how to fly your ship, but how to fight with it. Space combat is a very different proposition to fighting on ground level, with numerous mechanics to consider while trying to survive in the yawning voids between planets. Consider this your first day in flight school, then – this is our guide to succeeding in Starfield’s space combat:
Ship Systems
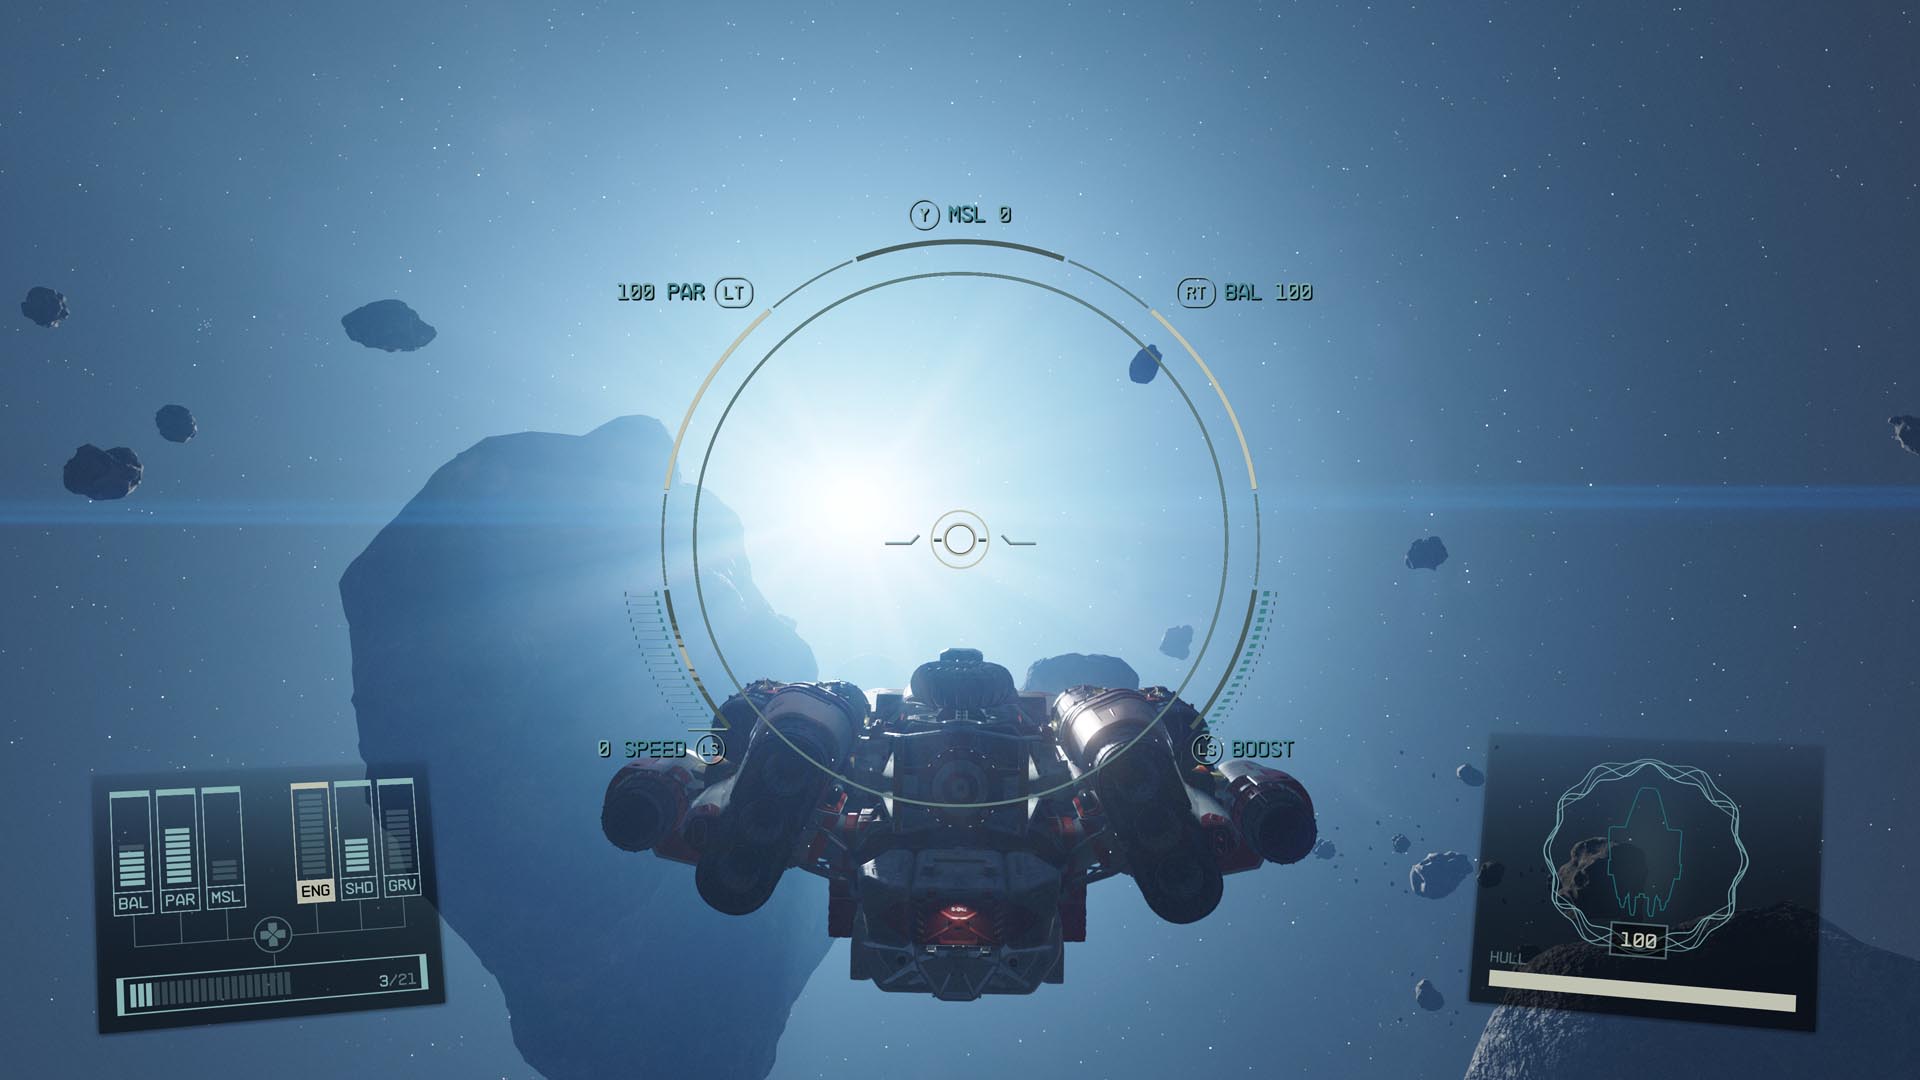
Key to every piece of your chosen spacecraft is its distinct systems, and more particularly how they’re powered. Your systems are split up into engines, three groups of weapons, shields, and your grav drive. Your ship’s reactor dictates how much power you have to put into each of these systems and, on the game’s earlier ships, you’re unlikely ever to have enough power to go round for all of them to run at full efficiency.
This means that, as you engage enemies, you’ll need to use the D-pad (or arrow keys if playing on mouse and keyboard) to cycle power into and out of each system. With lower power, lasers will fire more slowly, missiles will restock at a sluggish pace, shields won’t reach full charge, and your engines won’t move you as fast. The key, here, is in knowing your enemy.
Against lower level ships, I feel comfortable draining my grav drive (meaning I can’t warp away) and some of my shields, and pumping all my power into weapons, meaning I can take them down quickly and easily (before scooping up their precious cargo once I’ve reduced them to space trash). But if I feel less confident about my chances, I’ll pump up my shields, leave some juice in the grav drive, and accept a knock-down-drag-out fight, soaking up pressure while I whittle away their shields and hull – and if it all gets too frightening, I can initiate a system jump and get away within a few precious seconds.
Learning how best to distribute power turns fights into a frenzy of button presses, turning you into part-Picard on the bridge and part-La Forge in the engine room – it’s far more exciting than “efficient power allocation” has any right to be.
Learn the Dance
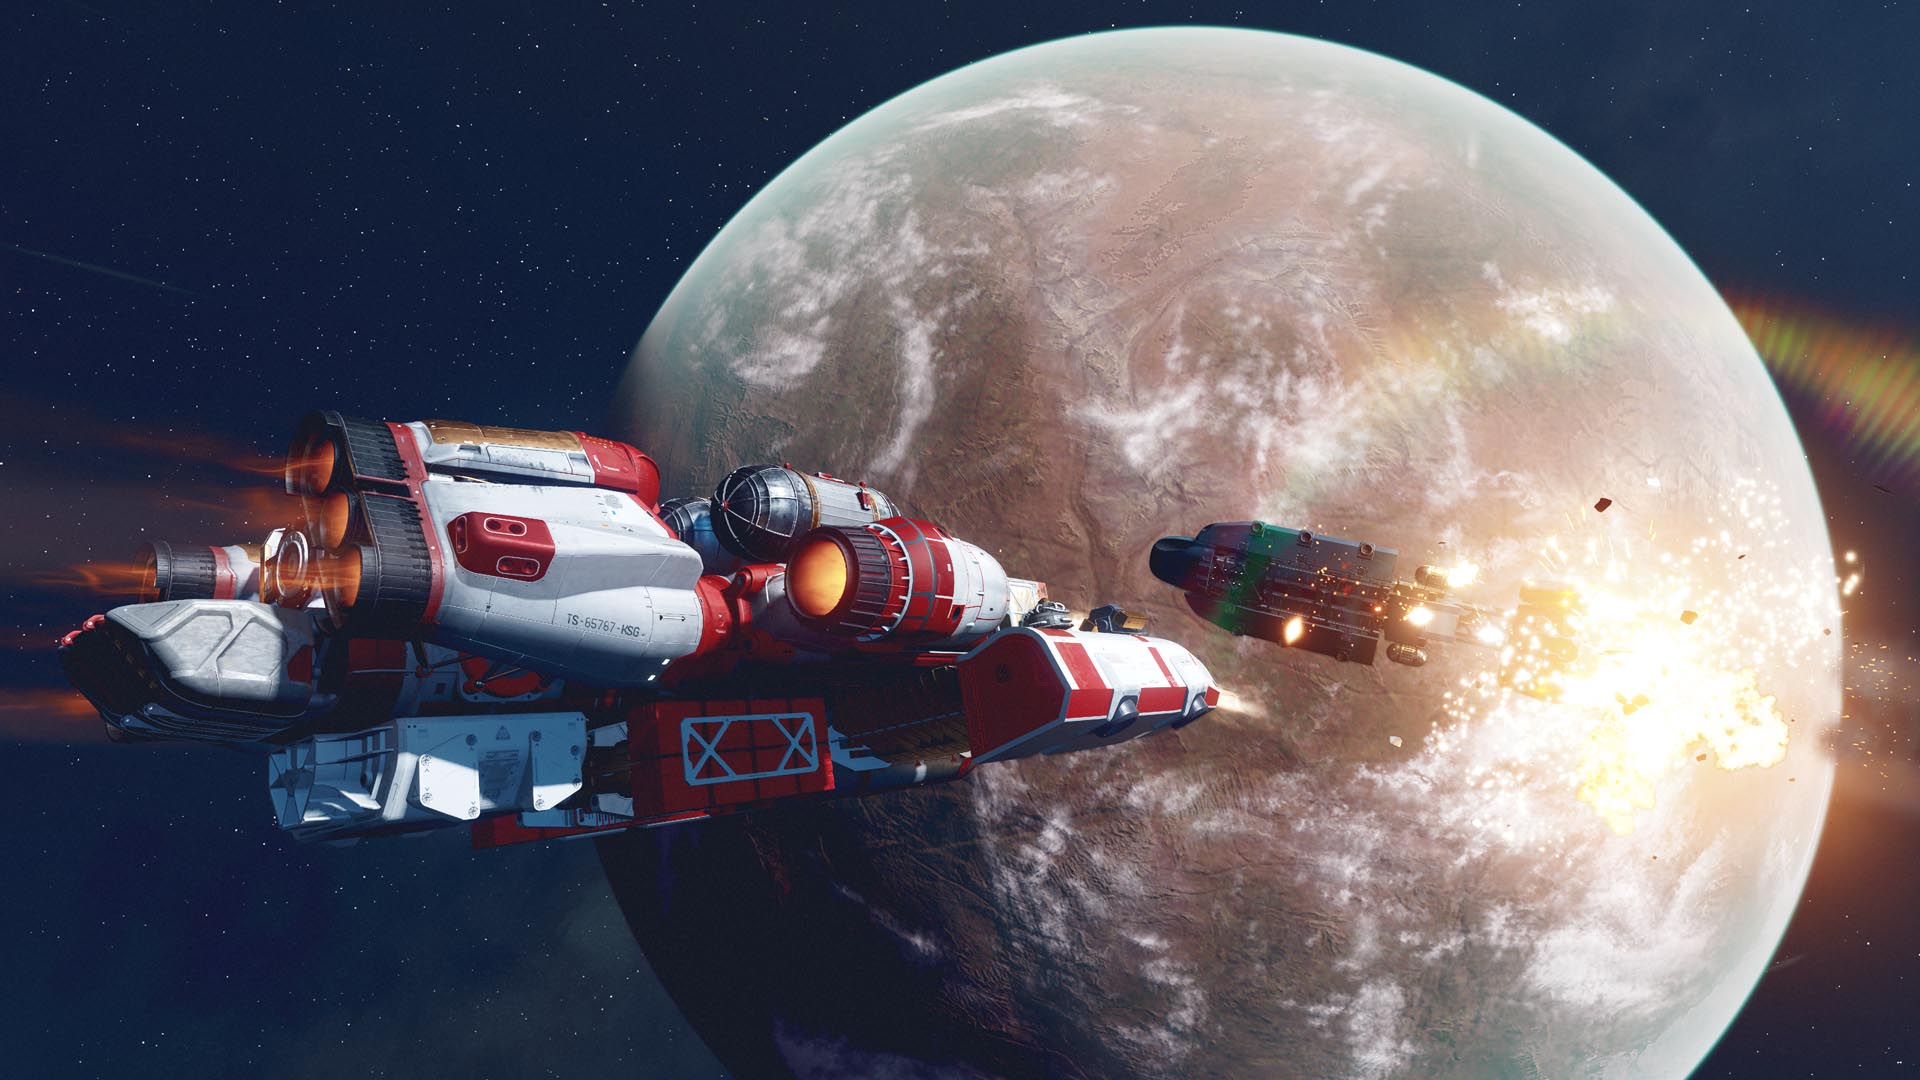
But even with a perfect control over power, you need to consider what I call The Dance – space combat is rarely a case of just sinking all your weapons into the hull of an enemy ship, and more a considered sense of what to fire when. Enemy shields naturally soak up damage, and must be dealt with before you can start blowing holes in ships – laser weaponry is particularly effective here.
Once those shields are down, however, lasers are far less effective than ballistic cannons, which are best-placed to knock chunks of healthbar off. Missiles, meanwhile offer huge ballistic damage, but ammo is slow to restock, meaning they’re best used as precision weapons (more on that below).
The Dance, then, is knowing which weapons to power up and take down specific types of enemy defence. It might seem wise to put a bit of power into each type and keep up a sustained assault, but I’ve found it more useful to cycle my lasers up to full power, remove my target’s shields, cycle that power into ballistics and then take down the hull. Your starting ship, the Frontier is set up with a very efficient combo of lasers, ballistics and missiles, and I highly recommend getting to grips with them before experimenting with other weapon types.
But once you have, there are other options available to the enterprising space buccaneer – EMP-type weapons can take down entire systems on the enemy ship in a few good bursts, for example. You’re restricted to three weapon groups per ship, so learning your preferred set-up is key to perfecting a deadly craft.
Target Acquired
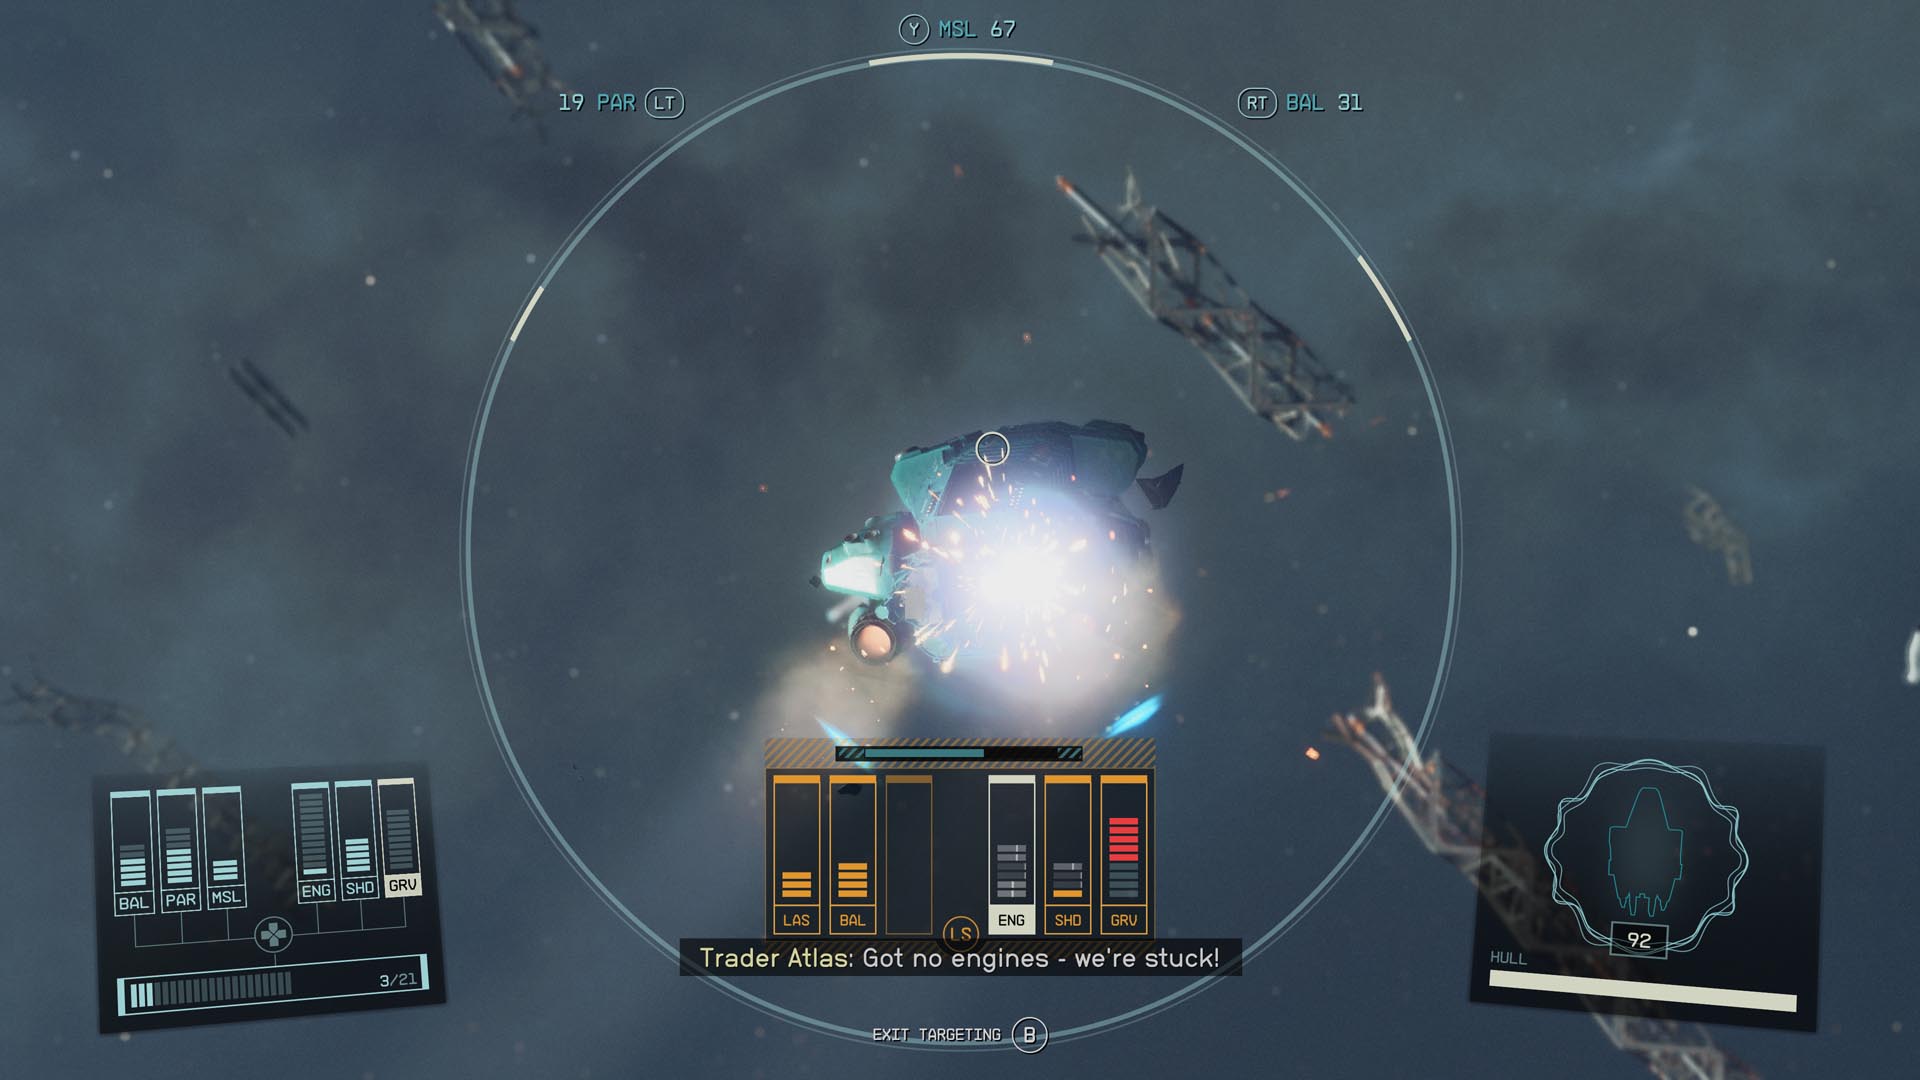
If you’re going to go down a space combat-heavy route, I have three helpful words for you: “Targeting Control Systems”. This skill, unlocked on the first tier of the Tech skill tree, unlocks the ability to lock onto enemies, slow down time, and target specific parts of a ship – it’s effectively Starfield’s take on the Fallout VATS system. This is where missiles, with their high damage and homing capabilities, come into their own.
Targeting is useful for multiple reasons. If a ship’s lasers are ripping through your shields, focus on those systems and remove them from the equation. If you’re engaging in a spot of piracy and want to ensure your prey can’t escape, hit their grav drive to prevent a jump. Most excitingly, you can also go straight for their engines, crippling the ship and making it possible to dock with the enemy ship and climb aboard. From here, you’ll be able to enter their ship, take down the crew (on smaller ships they’re usually found in the cockpit, but can pop up in other rooms), steal the contents of the cargo bay and, if you so wish, steal the entire ship itself (which can then be registered, used, upgraded, or simply sold).
It’s worth pointing out that shields need to be taken down before you can effectively hit systems (if you want to prevent this happening again, just shoot out their shield generator), and targeting also comes with a limited window – if you take too long or lose lock-on, you’ll need to target them again. It usually takes two or three solid sessions of targeting to take down a system in my experience with the early game.
Start a Movement
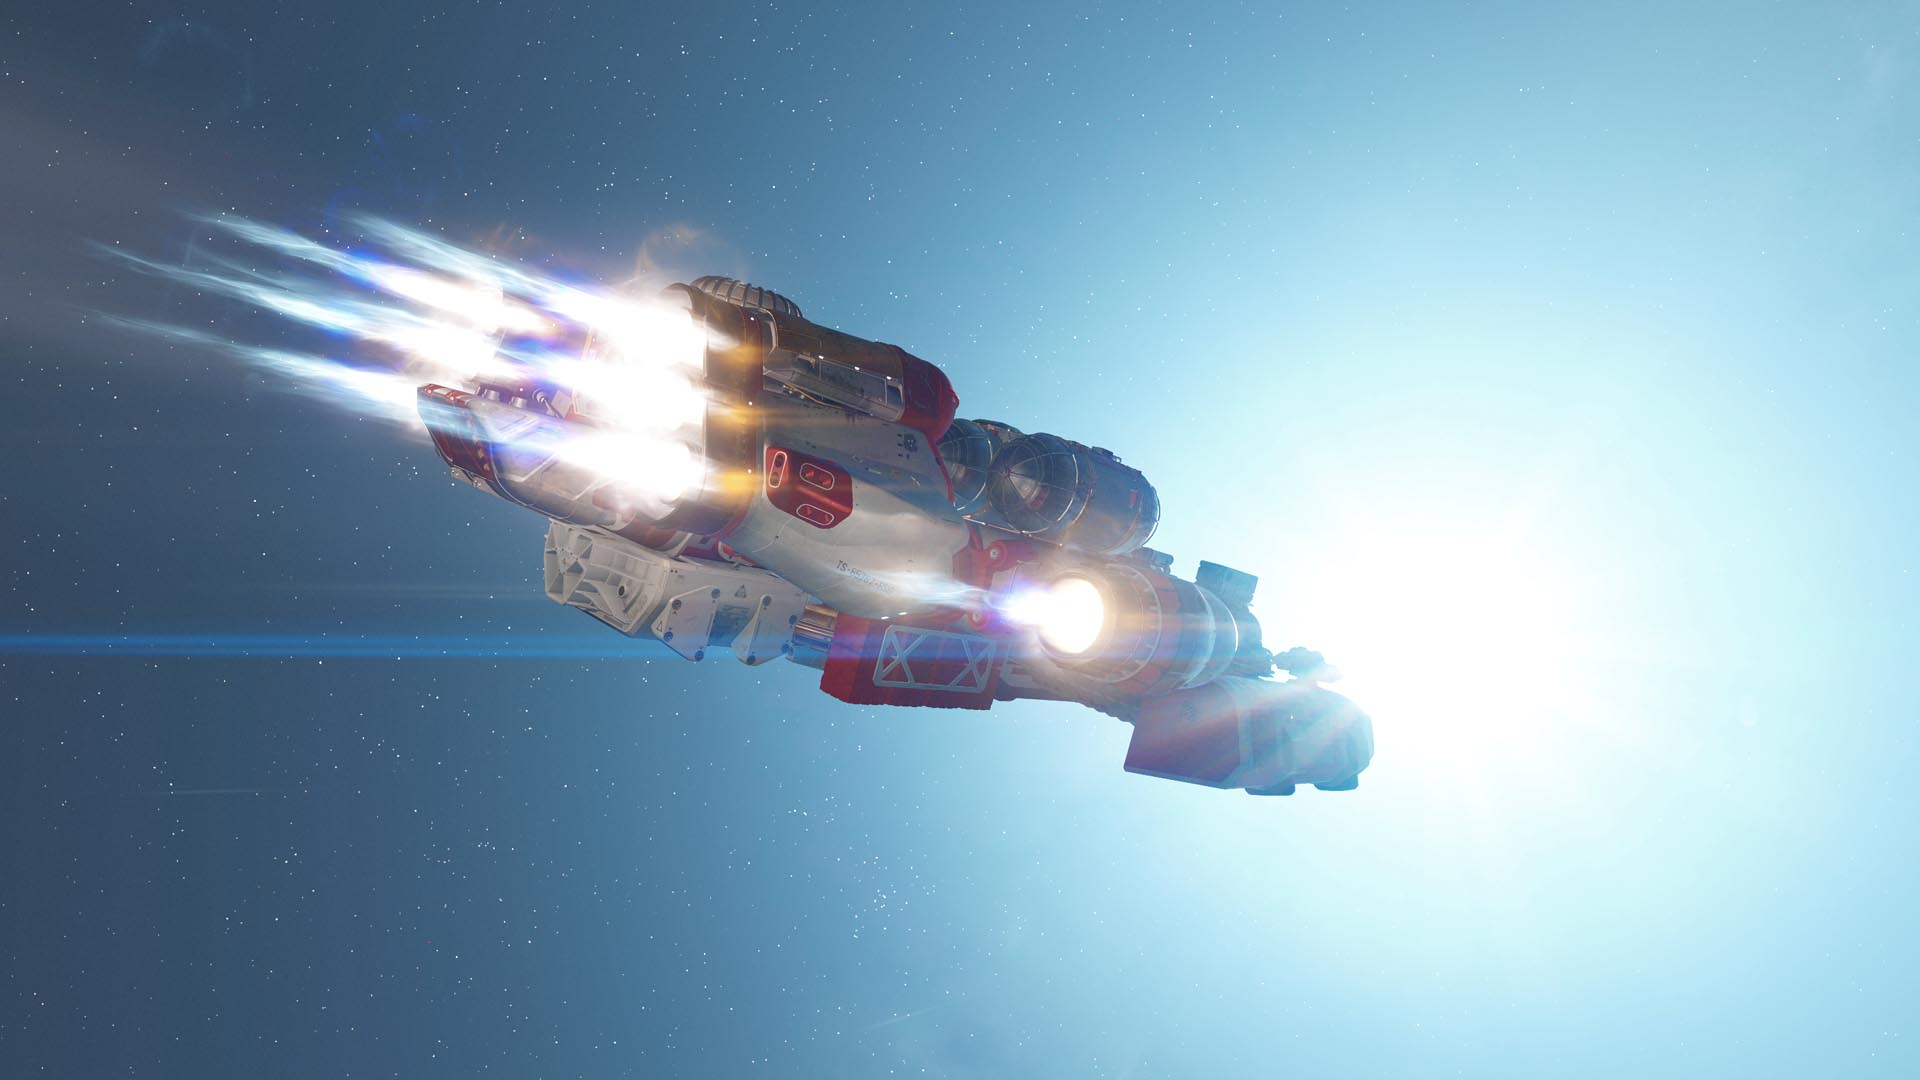
In a 360 combat space, your movement is as important as your ordnance, so make sure to pay attention to how you’re getting around. The key here is in learning how to turn your ship most effectively. While it’s tempting to push your ship’s engines to their limit, going too fast actually reduces some of your mobility – the gauge on the centre-left of the ship combat UI shows how fast you’re going, but it also includes a small section colored in white. This white section is the optimum spot for high speed turns – keep your speed within this window and you’ll be far more nimble, allowing you to wheel round at high velocity and keep a ship in your sights far more easily.
If you want to get even trickier, investing in the first rank of the Piloting skill unlocks thruster control for your ship – switching on thrusters allows you strafe your ship in four directions, helping you to avoid enemy fire while still keeping a bead on the target. I’ve found this particularly beneficial when I’ve been on a head-to-head flight path with an enemy, using thrusters to subtly move my ship and avoid careening missiles by inches.
Finally, boosting (achieved by clicking in the left stick on controller, or pressing Shift on your keyboard) is not just a way of getting places fast. In fact, it’s far more important as a defensive tool – enemy ships also tote missiles, and when they’ve locked on you’ll get a red warning at the top of your screen. Boosting immediately breaks a missile lock, keeping you safe from what’s likely the most damaging weapon enemies can use against you. With this in mind, keep hold of your boost as often as you can while in space combat, to save for a special, dangerous occasion.
Hull-istic Therapy
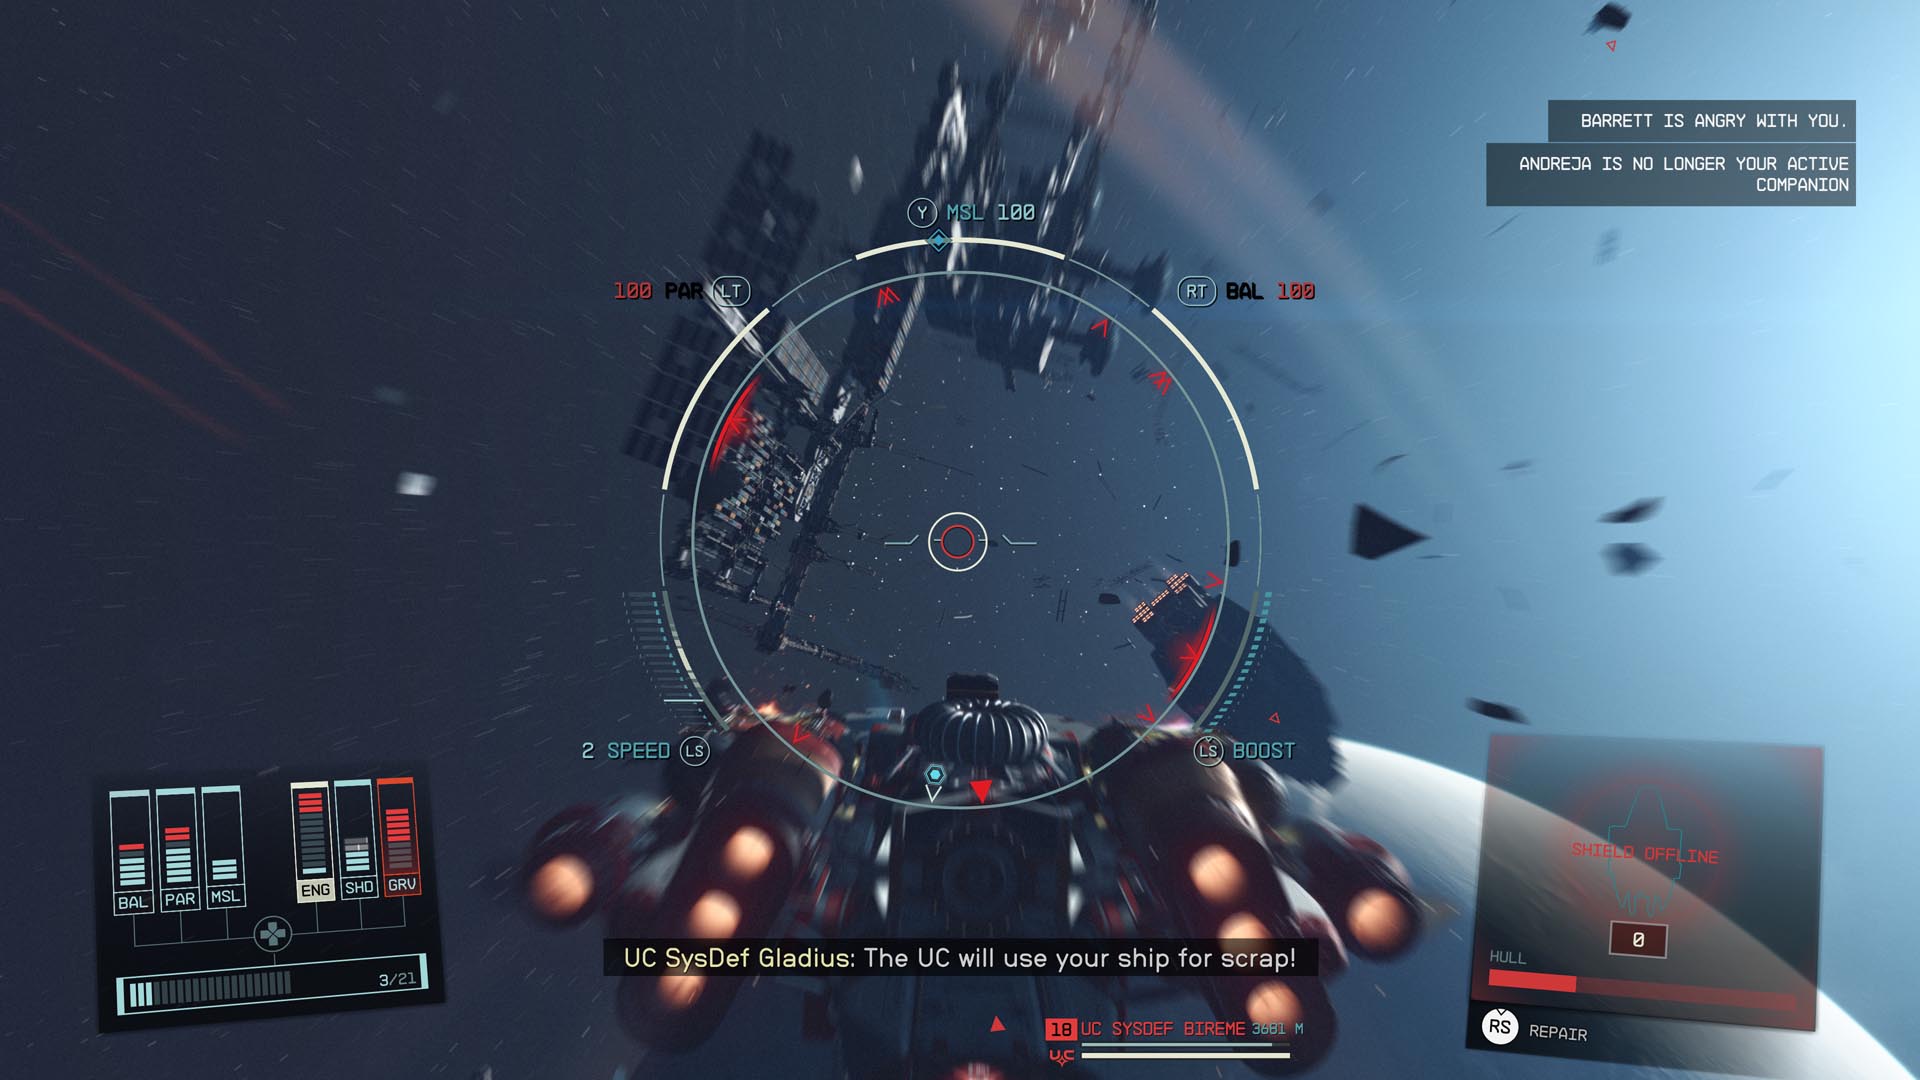
Amid the thrill of space combat, it can be easy to forget that your ship is vulnerable too – not least because, while shields will recharge, hull damage doesn’t recover naturally. There are a couple of ways to fix this – the more expensive way is to head to a ship-port at any civilized location, speak to a ship technician, and ask for repairs, which come at a cost of 1,000 credits a pop.
The less expensive way is to keep a supply of ship parts on hand. Think of these as medpacks for spaceships – they’re not especially easy to come by, and they take up a weighty amount of inventory or cargo hold space (pro tip – if you don’t understand why your inventory is so full, check the Aid section of you inventory for ship parts!), but they’re the quickest way to make yourself safe to fight again.
Interestingly, one of the easiest ways to ensure you get some ship parts is… engaging in more space combat. You’ll fairly frequently fly into a system and find yourself amid an ongoing battle between friendly forces like the Freestar Collective and more aggressive factions like Spacers. If you take part in the battle, taking down all the aggressors, the surviving side will often hail your ship, asking if they can reward you for your help – and ship parts are one of the available choices to request. Space combat – fun and useful!


Starfield Premium Edition
Bethesda Softworks


Starfield Standard Edition
Bethesda Softworks
Starfield Starters: An Explorer’s Guide to Planet Hopping
Starfield and Series S 1TB Kick Off an Incredible September
Next Week on Xbox: New Games for September 4 to 8
source https://news.xbox.com/en-us/2023/09/04/starfield-starters-space-combat-101/




Post a Comment for "Starfield Starters: Space Combat 101"